
Heirloom Apple Pie
Apple pie is one of the best ways to showcase flaky pastry and gather those you love around a table. This recipe has a few extra steps that result in unbelievable pay-off.
Ingredients
Crust:
2 1/2 cups all-purpose flour
2 Tbsp. sugar
1 tsp. salt
1/2 lb. (2 sticks) unsalted butter, cubed and refrigerated until ready to use
1/2 cup ice-cold water (put a couple ice cubes in the water until ready to use)
Dry beans (for parbaking the crust)
Filling:
5 medium apples (see note), cored and sliced
1/2 cup brown sugar
1/4 cup white sugar
2 Tbsp. cornstarch or arrowroot
1/4 tsp. salt
1 tsp. cinnamon
1 tsp. fresh grated ginger (tip: freeze your ginger for easy grating)
1 Tbsp. lemon juice
1 tsp. lemon zest
1/4 tsp. nutmeg
Cream for brushing the crust
Sugar for sprinkling on top
Directions
Make the Crust:
Mix the flour, sugar and salt together in a large mixing bowl. Add the butter and, using a pastry blender, mix until the butter is in pea-sized pieces throughout the dough. Work quickly— the key to great pie crust is to never allow the butter to soften. If the butter gets too soft, stick the whole bowl in the fridge for 5 minutes, then resume.
Slowly drizzle in the water (minus ice cubes) while mixing with a spatula. Mix rapidly and with a light touch, making sure that all areas of the bowl get water drizzled in. Continue mixing rapidly in circular, counter-clockwise motions (reverse if left-handed), pulling the dough over itself and toward you repeatedly. After a couple minutes of vigorous mixing, the dough should begin to come together. It is fully mixed when all the small pieces at the bottom have mixed into your clumpy dough. The dough should feel cool and damp to the touch, but not wet or sticky. (If it has softened beyond this, put the bowl in the freezer for 5 minutes.) Divide evenly, shape into two disks, and wrap each in plastic wrap. Refrigerate 4 hours or overnight.
Assemble Pie:
Place apples in a large pot. In a separate bowl, mix both sugars, flour, cornstarch/arrowroot, salt, cinnamon, ginger and nutmeg. Pour over apples and mix until evenly coated. Cook on medium, stirring occasionally, for about 15 minutes or until the apples are soft. Let cool to room temperature.
While the filling is cooling, take one dough disk out of the fridge. Generously flour a large work surface. Unwrap dough and flour both sides. Let sit for a couple minutes to warm slightly. Using the heel of your palm, press on the edges of the disk, gently pressing the dough out. Do the same with the center, pushing together any cracks. Flour underneath throughout this process, flipping the disk every so often.
Now roll out the crust with a rolling pin, moving from the middle out to the edges, being careful to flip and flour on top and underneath regularly to keep from sticking. Roll the crust out until it is 1 inch wider than your pan’s edges. Gently move the crust into the pan and press into all corners, making sure there are no gaps between the bottom of the pan and the crust. Trim the edges of the crust so it is even, then fold the lip of the crust under itself. You can either leave the crust as is or crimp it. Place this crust in the freezer for 15 minutes.
Heat oven to 350 degrees. Place chilled crust on a rimmed baking sheet and use foil to create a bowl snugly pressed inside the crust. Fill the foil with dry beans and bake for 15 minutes. Remove from oven and let crust sit for 15 minutes. Remove the foil with beans inside and dock (lightly prick all over over) the crust with a fork. Bake for another 10 minutes, remove, and let cool for 15 minutes.
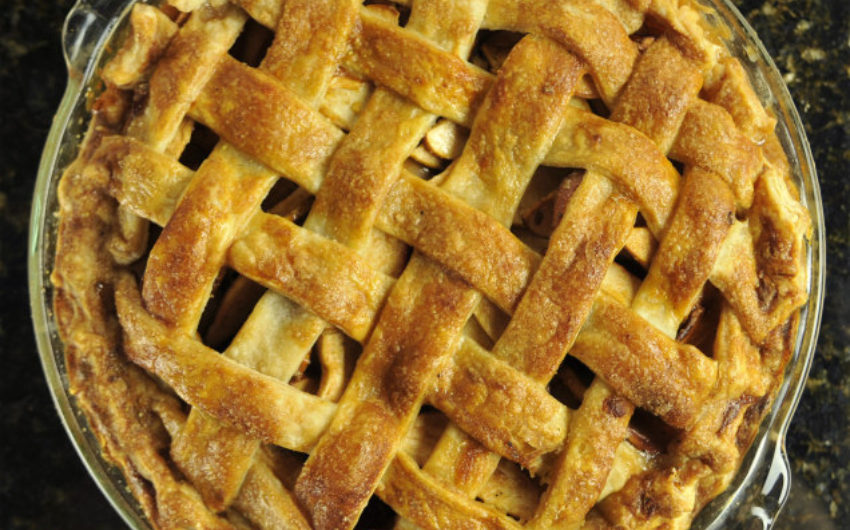
While the crust is parbaking and cooling, roll out your second dough disk the same way as the first. Choose how you want to decorate the top of your crust: lattice, decorative shapes, or cut a freeform design out of the whole disk.
When the bottom crust has cooled, pour the filling in and add your top crust. Trim edges if necessary. Brush with cream, sprinkle with a little sugar, and pop that beauty in the oven. Set the timer for 30 minutes and stand with your hands proudly on your hips for a moment.
Check after 30 minutes; depending on your oven, it will probably need another 15 minutes or so, but continue to check it every 5 minutes, as all ovens bake a little differently. You are looking for that perfect golden color all over. Once it looks too good to possibly put back in the oven, take it out! Let cool before slicing into it.
Suggestions
Author's note: I use heirloom varieties with a sweet-tart taste and crisp texture. My favorites are a mix of Macoun and Northern Spy. However, Honeycrisp and Granny Smith work equally well and are easier to find in the store.
More Recipes


Edible in your mailbox
