
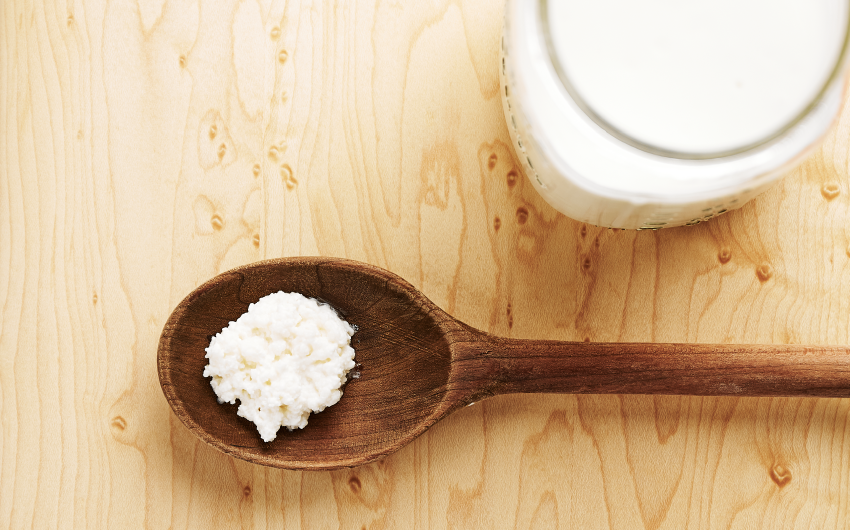
Homemade Milk Kefir
As a fermented food, kefir is rich in beneficial bacteria and yeasts, which have been shown to promote digestion, immune function, and more. The microbes in kefir reduce the lactose content of the milk as it ferments, making it more digestible for some who are sensitive to the lactose in dairy.
Ingredients
1 quart whole milk (can be raw or pasteurized, or substitute heavy cream)
2 tablespoons fresh, active kefir grains
Equipment
1 quart-sized glass jar
1 non-reactive jar lid (I use BPA-free plastic lids)
Mesh strainer
Directions
Pour milk into a glass jar. Add the kefir grains and stir well.
Place the lid onto the jar, being sure not to screw on too tightly, letting out any gas produced during fermentation.
Ferment the kefir at room temperature on the counter top for 1-3 days. The kefir is done and ready to use when it has thickened and has a tart, lightly acidic flavor. It may even become a bit effervescent or begin to separate. If your kitchen is warmer than room temperature, this may happen faster, whereas cooler temperatures will cause a slower fermentation process. Check it regularly as it sits, as fermentation times will vary.
Once fermented, pour the kefir through a mesh strainer into a clean glass jar to collect the grains and kefir separately. Transfer the prepared kefir to the fridge for storage, where it will keep for several weeks.
The kefir grains can now go right into another jar of milk to start your next batch of kefir, or the grains can be stored in the fridge until you are ready to make another batch. Simply put them in a small jar with just enough milk to cover the grains. Stored this way, your starter culture can remain dormant and healthy for a few weeks until used again.
Suggestions
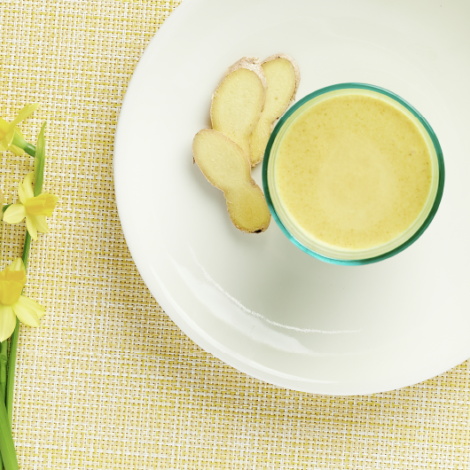
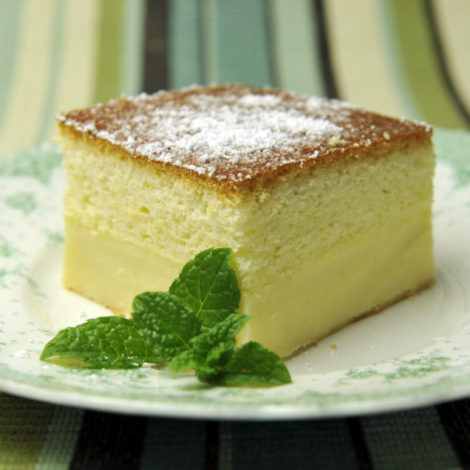
Add-ins like cinnamon, vanilla, honey or berries can be used to spice up single-fermented kefir just before serving.
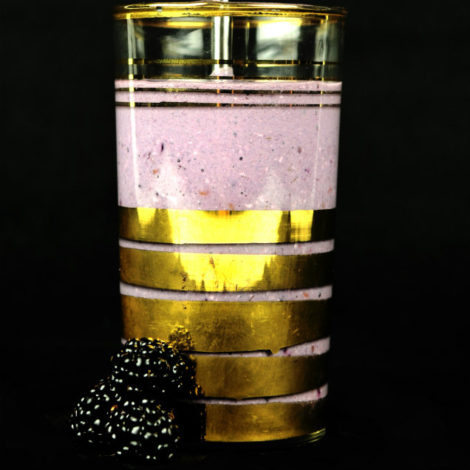
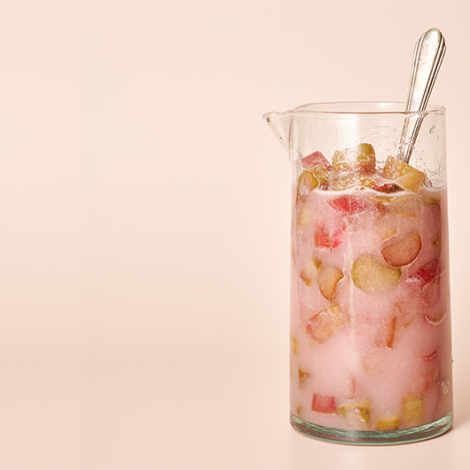
Similar to the kombucha-making process, you can put your kefir through a second round of fermentation, which adds more effervescence and tang. In the second fermentation, you can add fruit or other flavors to the vessel to make it all your own. This extra step is not necessary, but some people enjoy it for the different flavors it provides.
To do a second fermentation, put the strained kefir into an airtight vessel, such as a flip-top bottle used in beer brewing or simply use a glass canning jar. You can leave this plain or add fruits or flavorings as desired. Let sit at room temperature for 1-2 more days until effervescent. Be careful when opening in case of overflow due to contents being under pressure. Once fermented a second time, store in the fridge for up to several weeks.
Your kefir may begin to separate, forming a layer of thin liquid (whey) on top, which is totally fine—this is simply a sign the kefir is well-fermented and does not necessarily indicate spoilage. If separation occurs, simply shake or stir to combine and you are good to go. Mold or unpleasant “off” odors, however, are signs of unwanted microbial growth. If these signs show up, strain and toss the kefir, then rinse the grains and start a new batch with fresh milk.
Your kefir grains will grow and multiply as you prepare more batches of kefir; you only need 2 tablespoons of starter to make a 1-quart batch, so any extras can be used to make multiple or larger batches of kefir, can be stored in the fridge, or can be shared with a neighbor ready to ferment!
More Recipes
More Recipes by This Author


Edible in your mailbox
